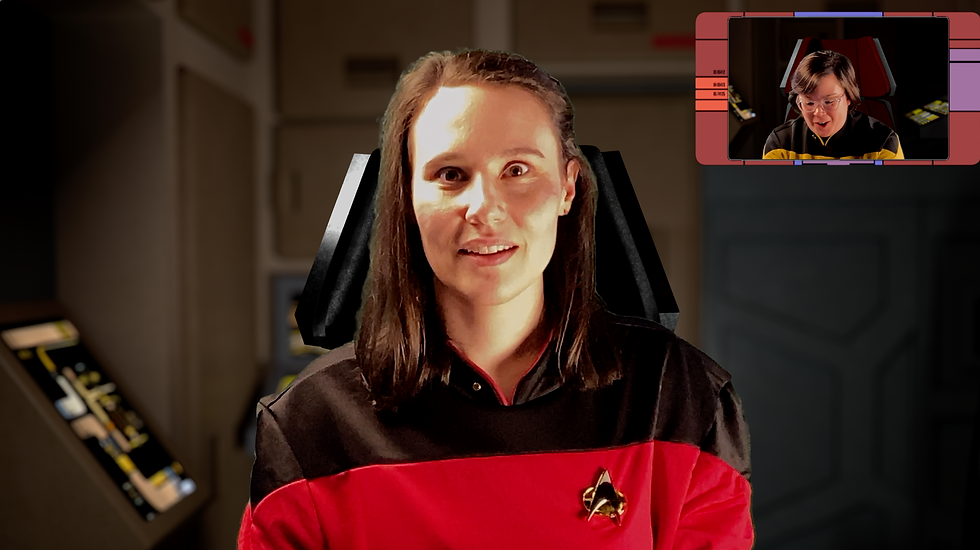
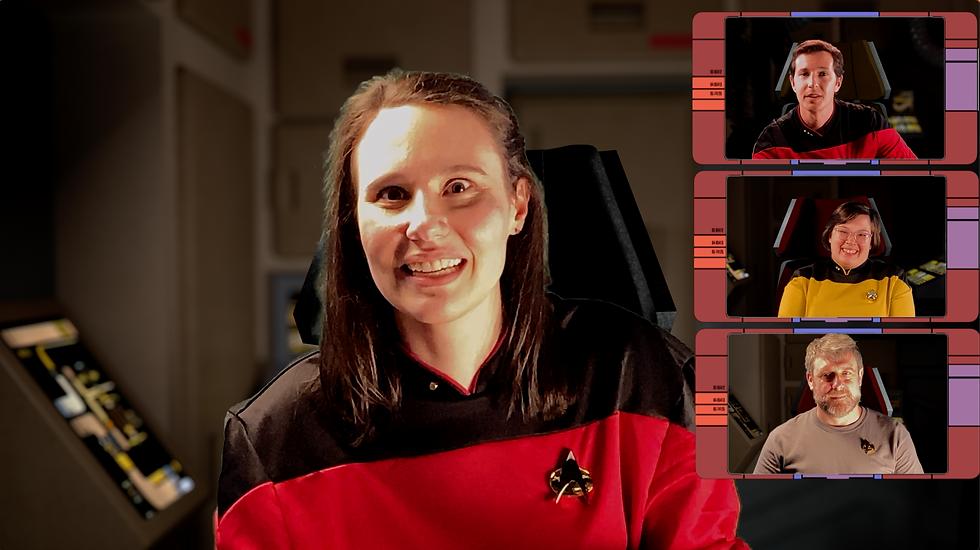
The "Zoom call in space" format for 359 made production easy. Well, easiER, anyway. All the actors played directly to camera, so there was no need to cover scenes from multiple angles with wide shots, two-shots, closeups, and so on. The main thing I had to worry about coverage-wise (as discussed in the Shooting 359 entry) was getting all the reaction shots I needed from the actors who were on-screen but not delivering lines at the time.
Shot Logs and Storyboarding
There was no realistic way that I could expect anyone to do their entire part in a single take so, before shooting, I broke the script for every actor into individual scenes. Nothing high-tech about that process...I just took a pencil and marked up printed copies of the script.

After each actor's parts were broken into scenes, I created the shot lists that my script supervisors used to track each take while we were shooting.

All of this is pre-production stuff that could have been covered in the previous blog...but I decided to put it here because it figures heavily into the editing process.
Like I said, I made the shooting process easy...but I didn't think about just how hard the editing process would be. Picture-in-picture (P-in-P) is a fairly simple thing to do in modern editing software. But, because 359 is all P-in-P, all of the movement and flow in every scene had to be based on cutting between the "main" window and the P-in-P windows. (In a normal production, you'd create scene flow by cutting between wide shots, close-ups, different angles, and so on.)
I quickly realized that this could get really complicated really fast. It's one thing cutting back and forth when you've got two characters on-screen...

But, when you have four characters and you're cutting between all of them, things get really hairy really fast.

I realized before I started editing that I'd need a way to keep track of which scene was being displayed in which window and for how long. That meant storyboarding the entire production from start to finish.
This is where the shot logs came into play. I'm not a great artist, so I didn't attempt to draw out each scene. There was really no need. What I needed for the edit was a way to keep track of which shot/take was displayed in which window and the flow of the dialog so that I knew when and where to cut from one "primary" shot to the next.

In this example, Webber has just entered the conversation with Zahn, Boyd, and Frazier. Each scene keeps track of the primary location (what's shown in the main window), the arrangement of the shots in the secondary (P-in-P) windows, and the flow of the dialog indicating where I wanted to cut from one primary shot to the next.
As I created the storyboards, it was really important to the continuity to know where each character was located in the P-in-P for each primary view. That way, I didn't have people's P-in-P windows switching places from shot to shot as I moved through the story. I consistently populated new P-in-P windows from top-to-bottom as they opened and kept them the same throughout. When one window closed, the others rearranged as needed. Without storyboarding, I never would have been able to keep track of that.
Choosing the Right Editing Software
My original plan was to use iMovie to edit the film. It's an editor that's included as part of MacOS, and it's actually pretty decent. In fact, it's crazy good compared to editing film or videotape in the old days. And it's absolutely free, which makes it a really attractive choice.
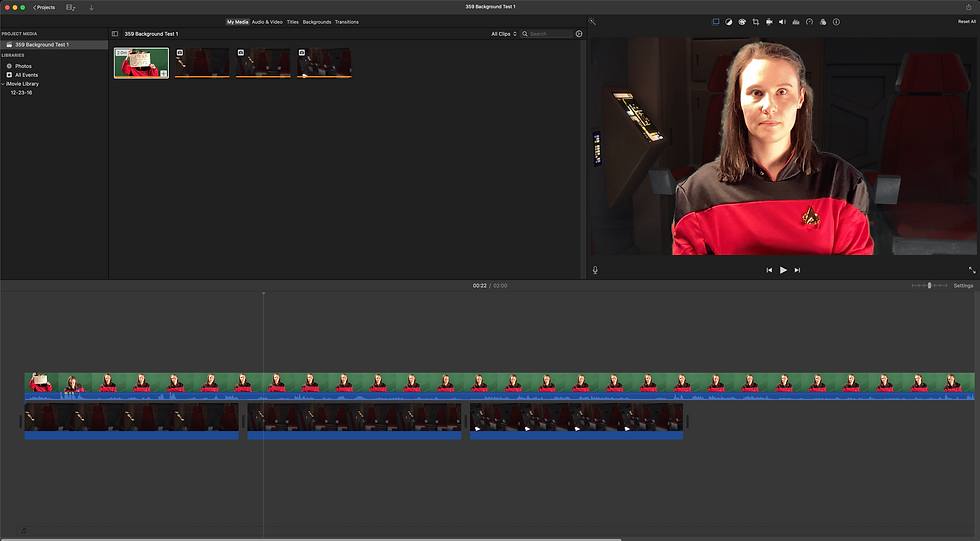
All of my test footage was edited in iMovie. One of the things I needed my editing software to do was chromakey--the process of inserting background footage over a green screen shot. Turns out, iMovie does a pretty solid job at that.

I also needed to do picture-in-picture, and that's where I hit a HUGE snag. Although iMovie makes it relatively easy to do a single P-in-P shot, doing more than one is a problem. The issue is that iMovie only allows two video tracks, and that has a lot of implications. First, as you can see in the chromakey example above, creating a green screen shot requires both video tracks. That means that, once the background is added, you have to render the shot as a composite shot (with the background embedded) before you can use it for your P-in-P composition.

So, to create the P-in-P in the example above, I had to composite and render the background into the shot for the inset window. Then, I had to do the same for the main window. Since every shot I was doing was green screened, that meant that every single shot in the film would have to be composited, rendered, and saved separately.
But it gets worse. Because there were times when I'd need as many as three P-in-P windows open at a time, that meant that I had to render a new version of every shot (after the green screen backgrounds were composited) once for each window that was open. So--render a version with one window open. Then render a version with two. Then with three. And, of course, once the composite shot was made, there would be no way to edit the inset windows because they were baked into the main shot.
There was no way that was going to work. I needed a better alternative.
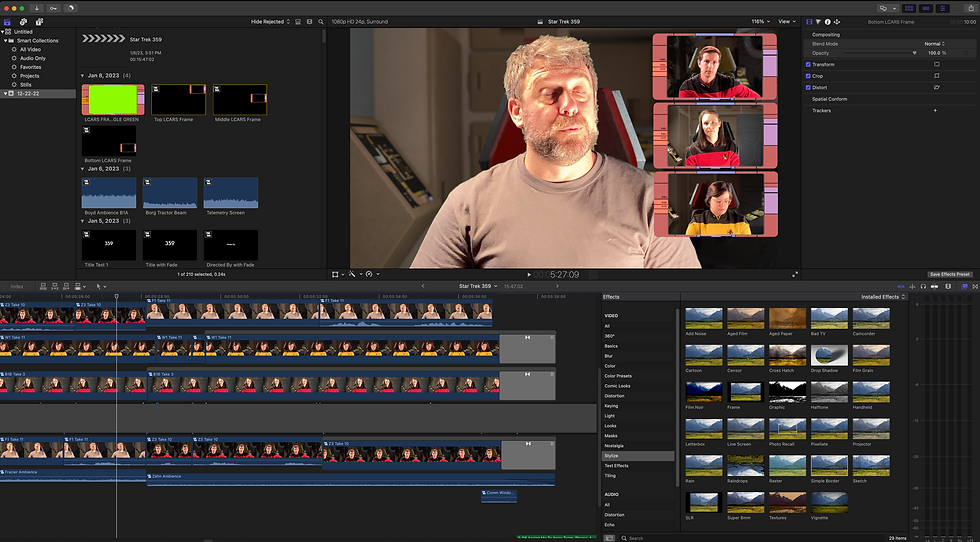
Enter Final Cut Pro. There are a bunch of editing programs available for Mac, but the reviews all seemed to point to Final Cut as being the best. So, I figured I'd give it a try.
To put it simply...Final Cut Pro is magic. It's wizardry. It's an insanely simple to use piece of software that makes possible things I never would have dreamed of back in my college days. It also has a 90-day, full-featured free trial period. That was enough for me to finish my edit of 359 (with almost two weeks to spare), but I ended up dropping the $300 on it anyway. It is SO worth it.
First and foremost, Final Cut Pro solved my picture-in-picture problem. Unlike iMovie, there is no limit to the number of video tracks you can have in Final Cut. That meant I could stack as many shots as I needed, and I had full control over each one with regard to editing, adding effects, and so on.

That in and of itself would have been worth the investment. But Final Cut Pro also has a HUGE built-in sound effects, visual effects, and transition library. It has all kinds of audio editing capabilities as well, which let me take 359 far beyond what I had thought possible.
It sounds (and looks) complex...and it kind of is...but, it's so easy to learn that I was editing within a day of downloading it (with occasional help from YouTube videos whenever I hit a snag). I can't recommend this editor enough. And, the fact that it runs fine on my 2015 iMac made me very happy as well.
Next time...Part 2 of the editing blog, where I'll get into the specifics of how I put the film together.
Comments